Introduction
Deploying a Flutter app to the Apple App Store is more involved than Android. Apple's ecosystem requires precise setup of certificates, provisioning profiles, bundle IDs, and entitlements - and a single mismatch causes build failures or App Review rejections.
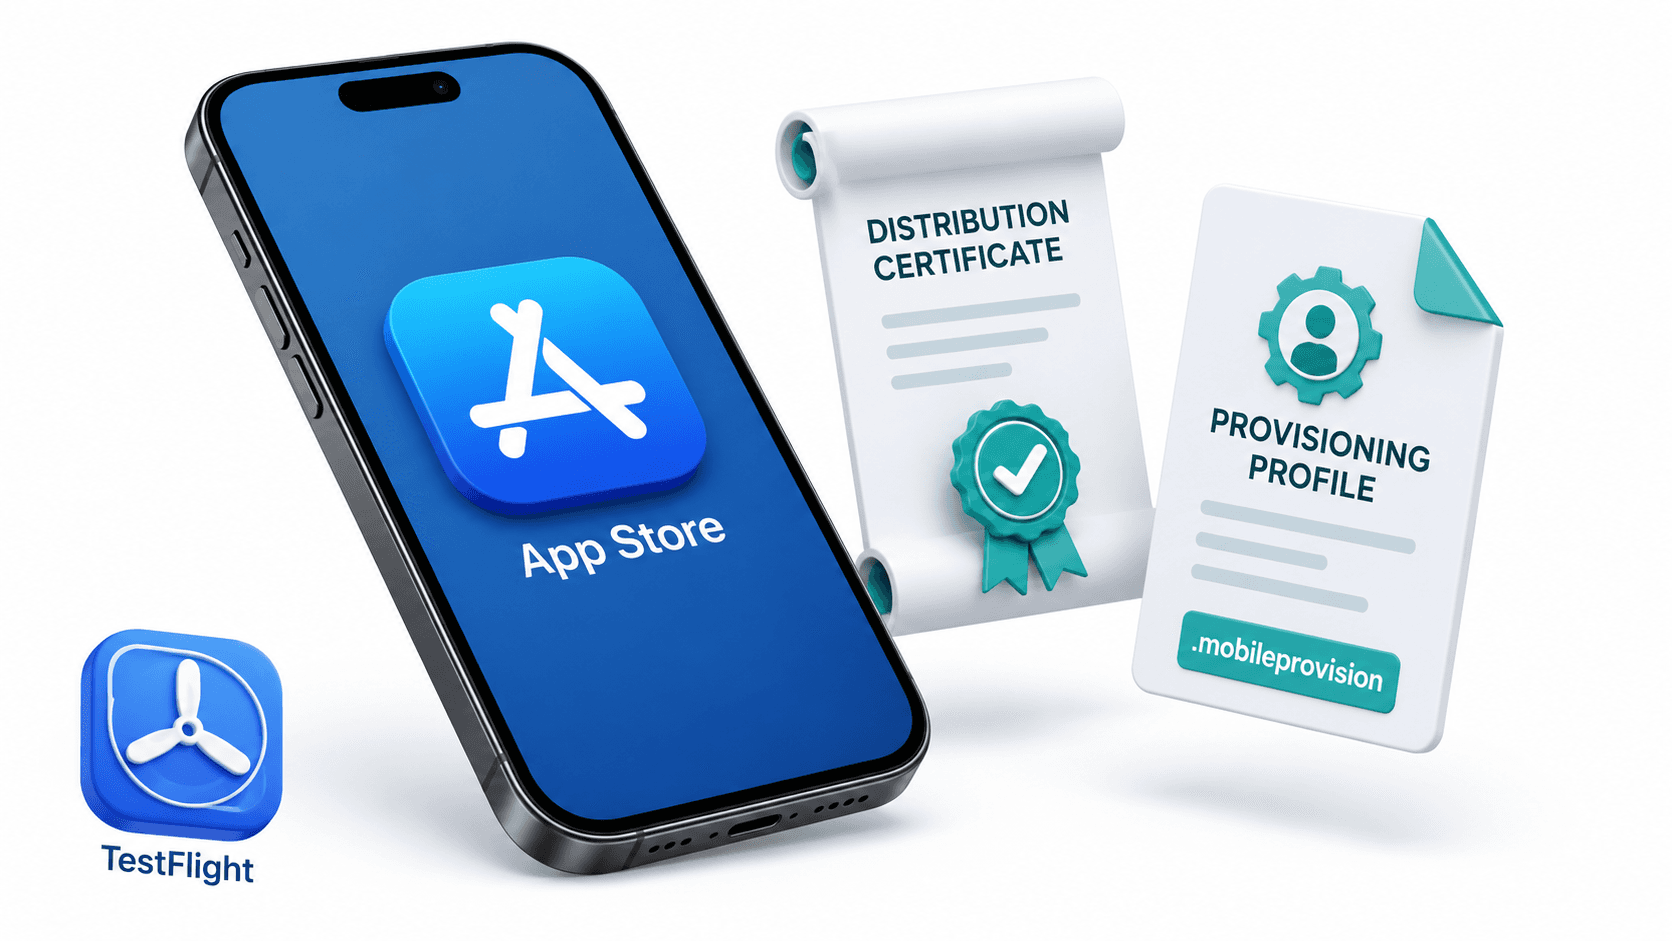
This guide covers every step of the iOS deployment process: Apple Developer account setup, Xcode configuration, code signing, TestFlight beta testing, App Review, and automating future releases so shipping becomes routine instead of stressful.
Prerequisites
Before starting:
- A Mac with Xcode 15+ installed (iOS builds require macOS)
- An Apple Developer account ($99/year at developer.apple.com)
- Your Flutter app's iOS target set up in Xcode
Step 1: Apple Developer Account Setup
Enroll at developer.apple.com/enroll. Apple verifies your identity - individual accounts are approved in 24-48 hours, organization accounts take 1-2 weeks.
After enrollment you get access to:
- Certificates, Identifiers and Profiles portal (create signing resources)
- App Store Connect (manage apps, TestFlight, submissions)
Step 2: Register Your App ID (Bundle Identifier)
Your Bundle ID is a unique reverse-domain string that permanently identifies your app on Apple's systems:
- Go to developer.apple.com > Certificates, Identifiers and Profiles > Identifiers
- Click + to register a new App ID
- Select App IDs > App
- Enter:
- Description: My App Name
- Bundle ID:
com.yourcompany.yourapp(Explicit, not Wildcard)
- Enable required Capabilities: Push Notifications, Sign in with Apple, In-App Purchase, etc.
Update your Flutter project's bundle ID to match:
# In XCode or directly in Runner.xcodeproj
# Or set it in pubspec.yaml and regenerate:
In Xcode: select Runner target > Signing and Capabilities tab > change Bundle Identifier.
Or update ios/Runner/Info.plist:
<key>CFBundleIdentifier</key>
<string>com.yourcompany.yourapp</string>
Step 3: Code Signing - Certificates and Provisioning Profiles
Code signing is the most confusing part of iOS deployment. Here is how it works:
- Certificate: proves you are a registered Apple developer (like your ID card)
- Provisioning Profile: links your certificate, App ID, and device list - authorizes a specific app from you to run on specific devices
Types of Signing Resources
| Type | Purpose |
|---|---|
| Development certificate | Run app on physical devices during development |
| Distribution certificate | Sign builds for App Store or TestFlight |
| Development provisioning profile | Run on registered devices during dev |
| App Store provisioning profile | Upload to App Store Connect / TestFlight |
| Ad Hoc provisioning profile | Distribute to specific registered devices |
Automatic Signing (Recommended for getting started)
In Xcode, enable Automatically manage signing:
- Open
ios/Runner.xcworkspacein Xcode - Select Runner target > Signing and Capabilities
- Check Automatically manage signing
- Select your Team
Xcode creates and manages all certificates and provisioning profiles for you. This works for most projects.
Manual Signing (Required for CI/CD)
For automated builds, you need manual signing control. Create in the Apple Developer portal:
- Distribution Certificate: Certificates > + > Apple Distribution
- App Store Provisioning Profile: Profiles > + > App Store > select your App ID > select your Distribution Certificate
Download both, install the certificate in Keychain Access, and reference the profile in Xcode.
Step 4: Configure iOS in Flutter
Set minimum iOS version
In ios/Podfile:
platform :ios, '13.0' # Minimum iOS 13 recommended for 2026
In Xcode: Runner target > General > Minimum Deployments > iOS 13.0
Set display name and version
In ios/Runner/Info.plist:
<key>CFBundleDisplayName</key>
<string>My App Name</string>

<key>CFBundleShortVersionString</key>
<string>$(FLUTTER_BUILD_NAME)</string>   <!-- reads from pubspec.yaml -->

<key>CFBundleVersion</key>
<string>$(FLUTTER_BUILD_NUMBER)</string>  <!-- reads from pubspec.yaml -->
Add required permissions
Apple requires a description string for every permission your app uses. Add to Info.plist:
<!-- Camera -->
<key>NSCameraUsageDescription</key>
<string>This app uses the camera to scan QR codes and take profile photos.</string>

<!-- Microphone -->
<key>NSMicrophoneUsageDescription</key>
<string>This app uses the microphone for voice messages.</string>

<!-- Location -->
<key>NSLocationWhenInUseUsageDescription</key>
<string>This app uses your location to show nearby services.</string>

<!-- Photo Library -->
<key>NSPhotoLibraryUsageDescription</key>
<string>This app accesses your photo library to let you upload images.</string>

<!-- Face ID -->
<key>NSFaceIDUsageDescription</key>
<string>This app uses Face ID for secure authentication.</string>
Missing permission strings = guaranteed App Review rejection.
Step 5: Build the IPA (iOS App Archive)
# Build iOS release (no code signing)
flutter build ios --release

# Or build with manual signing
flutter build ipa --release

# Output: build/ios/archive/Runner.xcarchive
# IPA: build/ios/ipa/YourApp.ipa
To build and archive from Xcode (recommended for first submission):
- Set scheme to Runner and destination to Any iOS Device (arm64)
- Product > Archive
- In the Organizer window, click Distribute App
- Select App Store Connect > Upload
Step 6: Create Your App in App Store Connect
- Go to appstoreconnect.apple.com
- My Apps > + > New App
- Fill in:
- Platforms: iOS
- Name: your app's display name (up to 30 characters)
- Primary Language: English
- Bundle ID: select from the dropdown (your registered ID)
- SKU: a unique internal identifier (e.g.,
my-app-001)
Step 7: Complete the App Store Listing
App Information
- Subtitle (30 characters): one-line supplement to your app name
- Primary Category and Secondary Category
- Content Rights: confirm you own or have rights to all content
- Age Rating: complete the age rating questionnaire
Pricing and Availability
- Set price (Free, or a paid tier)
- Select countries/regions where the app is available
Version Information (for each version)
- Screenshots (required sizes):
- 6.9" display: 1320x2868 or 2868x1320 (iPhone 16 Pro Max)
- 6.5" display: 1284x2778 or 2778x1284 (iPhone 15 Plus)
- 12.9" iPad: 2048x2732 or 2732x2048 (if supporting iPad)
- App Preview videos (optional but increase conversion)
- Description (4000 characters max)
- Keywords (100 characters max, comma-separated) - critical for ASO
- Support URL: required
- Marketing URL: optional
- What's New: describe changes in this version
Privacy Policy URL
Mandatory for all apps since iOS 13. If your app collects any user data, you must link to a privacy policy that describes what is collected, why, and how long it is retained.
App Privacy Labels
Declare all data your app collects in the privacy nutrition label. Be thorough - App Review cross-checks this against your app's actual behavior. Categories include:
- Contact info (email, phone, name)
- Health and fitness data
- Financial info
- Location
- Identifiers (Device ID, User ID)
- Usage data
Step 8: TestFlight Beta Testing
TestFlight lets you distribute builds to testers before App Review:
Internal Testers (up to 100 people, no App Review)
- In App Store Connect > your app > TestFlight
- Upload a build (via Xcode Organizer or Transporter)
- Wait for build processing (5-20 minutes)
- Add Internal Testers by Apple ID email
- They receive an email invitation to install TestFlight
External Testers (up to 10,000 people, requires beta App Review)
- Create a Group under External Testing
- Add your build to the group
- Add testers by email or create a public link
- Submit the build for Beta App Review (1-2 days, less strict than full review)
- Once approved, testers install through the TestFlight app
TestFlight builds expire after 90 days. Upload a new build to extend testing.
Step 9: Submitting for App Review
Once your store listing is complete and testing is done:
- In App Store Connect > your app > the version you are submitting
- Select your approved TestFlight build
- Fill in:
- App Review Information: a demo account if your app requires login
- Sign-In Required: provide test credentials
- Contact Information: your name and phone number (reviewer may call if there are questions)
- Notes for App Review: explain any non-obvious features or special entitlements
- Click Submit for Review
App Review Timeline
- Standard: 24-48 hours for most apps (Apple publishes average times at developer.apple.com/system-status)
- Expedited review: request via App Store Connect for critical bug fixes (approved at Apple's discretion)
Step 10: Common App Review Rejections
| Rejection Reason | Guideline | Fix |
|---|---|---|
| Crashes during review | 2.1 | Fix all crashes found during testing |
| Missing privacy policy | 5.1.1 | Add privacy policy URL |
| Inaccurate metadata | 2.3 | Match screenshots and description to actual app |
| Broken links or placeholder content | 2.1 | Ensure all features work with demo account |
| Login wall with no demo account | 2.1 | Provide test credentials in review notes |
| Missing permission descriptions | 5.1.1 | Add NSUsageDescription for all permissions |
| Guideline 4.2 (Minimum Functionality) | 4.2 | Ensure app provides standalone value |
| Hidden or undisclosed features | 2.3.13 | Disclose all features in app description |
| Collecting data not declared in privacy labels | 5.1 | Audit all SDKs and update privacy labels |
Step 11: Automate with Fastlane and GitHub Actions
Install Fastlane
gem install fastlane
cd ios
fastlane init
Configure ios/fastlane/Fastfile
default_platform(:ios)

platform :ios do

  desc "Build and upload to TestFlight"
  lane :beta do
    # Sync certificates and provisioning profiles from a git repo
    match(
      type: "appstore",
      readonly: true,
      git_url: "https://github.com/yourorg/your-certs-repo",
      app_identifier: "com.yourcompany.yourapp",
    )

    # Build Flutter IPA
    sh("flutter build ipa --release")

    # Upload to TestFlight
    upload_to_testflight(
      ipa: "../build/ios/ipa/YourApp.ipa",
      skip_waiting_for_build_processing: true,
    )
  end

  desc "Submit to App Store"
  lane :release do
    deliver(
      ipa: "../build/ios/ipa/YourApp.ipa",
      submit_for_review: true,
      automatic_release: false,
      force: true,
      skip_screenshots: true,
      skip_metadata: false,
    )
  end
end
Fastlane Match manages certificates in a private git repo so your whole team shares the same signing credentials safely:
fastlane match init
fastlane match appstore
GitHub Actions for iOS
# .github/workflows/ios-deploy.yml
name: Deploy iOS to TestFlight

on:
  push:
    branches: [main]

jobs:
  deploy:
    runs-on: macos-latest    # iOS builds require macOS

    steps:
      - uses: actions/checkout@v4

      - name: Setup Flutter
        uses: subosito/flutter-action@v2
        with:
          flutter-version: '3.24.0'

      - name: Get dependencies
        run: flutter pub get

      - name: Run tests
        run: flutter test

      - name: Setup Ruby for Fastlane
        uses: ruby/setup-ruby@v1
        with:
          ruby-version: '3.2'
          bundler-cache: true

      - name: Install Fastlane
        run: gem install fastlane

      - name: Import certificate to keychain
        env:
          CERTIFICATE_BASE64: ${{ secrets.IOS_CERTIFICATE_BASE64 }}
          CERTIFICATE_PASSWORD: ${{ secrets.IOS_CERTIFICATE_PASSWORD }}
          KEYCHAIN_PASSWORD: ${{ secrets.KEYCHAIN_PASSWORD }}
        run: |
          KEYCHAIN_PATH=$RUNNER_TEMP/build.keychain
          security create-keychain -p "$KEYCHAIN_PASSWORD" $KEYCHAIN_PATH
          security set-keychain-settings -lut 21600 $KEYCHAIN_PATH
          security unlock-keychain -p "$KEYCHAIN_PASSWORD" $KEYCHAIN_PATH
          echo "$CERTIFICATE_BASE64" | base64 --decode > certificate.p12
          security import certificate.p12 -P "$CERTIFICATE_PASSWORD" -A -t cert -f pkcs12 -k $KEYCHAIN_PATH
          security list-keychain -d user -s $KEYCHAIN_PATH

      - name: Install provisioning profile
        env:
          PROVISIONING_PROFILE_BASE64: ${{ secrets.IOS_PROVISIONING_PROFILE_BASE64 }}
        run: |
          PROFILE_PATH=$RUNNER_TEMP/build_pp.mobileprovision
          echo "$PROVISIONING_PROFILE_BASE64" | base64 --decode > $PROFILE_PATH
          mkdir -p ~/Library/MobileDevice/Provisioning\ Profiles
          cp $PROFILE_PATH ~/Library/MobileDevice/Provisioning\ Profiles

      - name: Build and deploy to TestFlight
        env:
          APP_STORE_CONNECT_API_KEY_ID: ${{ secrets.APP_STORE_CONNECT_KEY_ID }}
          APP_STORE_CONNECT_ISSUER_ID: ${{ secrets.APP_STORE_CONNECT_ISSUER_ID }}
          APP_STORE_CONNECT_API_KEY: ${{ secrets.APP_STORE_CONNECT_API_KEY }}
        run: |
          cd ios
          fastlane beta
Conclusion
iOS App Store deployment has more moving parts than most platforms - certificates, provisioning profiles, App Review requirements, privacy labels, and TestFlight all require deliberate setup. But once you understand the system, it becomes repeatable.
The key principles: automate everything with Fastlane and GitHub Actions so builds are consistent, test thoroughly on TestFlight before submitting for review, and be accurate and complete in every metadata field to avoid unnecessary back-and-forth with App Review.
Once your pipeline is set up, shipping a new iOS version is a git push away.
Need help setting up iOS deployment or App Store automation for your app? I configure end-to-end iOS release pipelines covering code signing, TestFlight, App Store submission, and CI/CD automation. Book a meeting to streamline your iOS releases.
Written by Moeen Ahmad, Senior Software Engineer working across mobile apps, backend systems, cloud deployments, and AI-powered products. I write about practical engineering, real project lessons, and building software that actually ships.
Interested in working together?
Let's discuss your project and explore how I can help bring it to life.